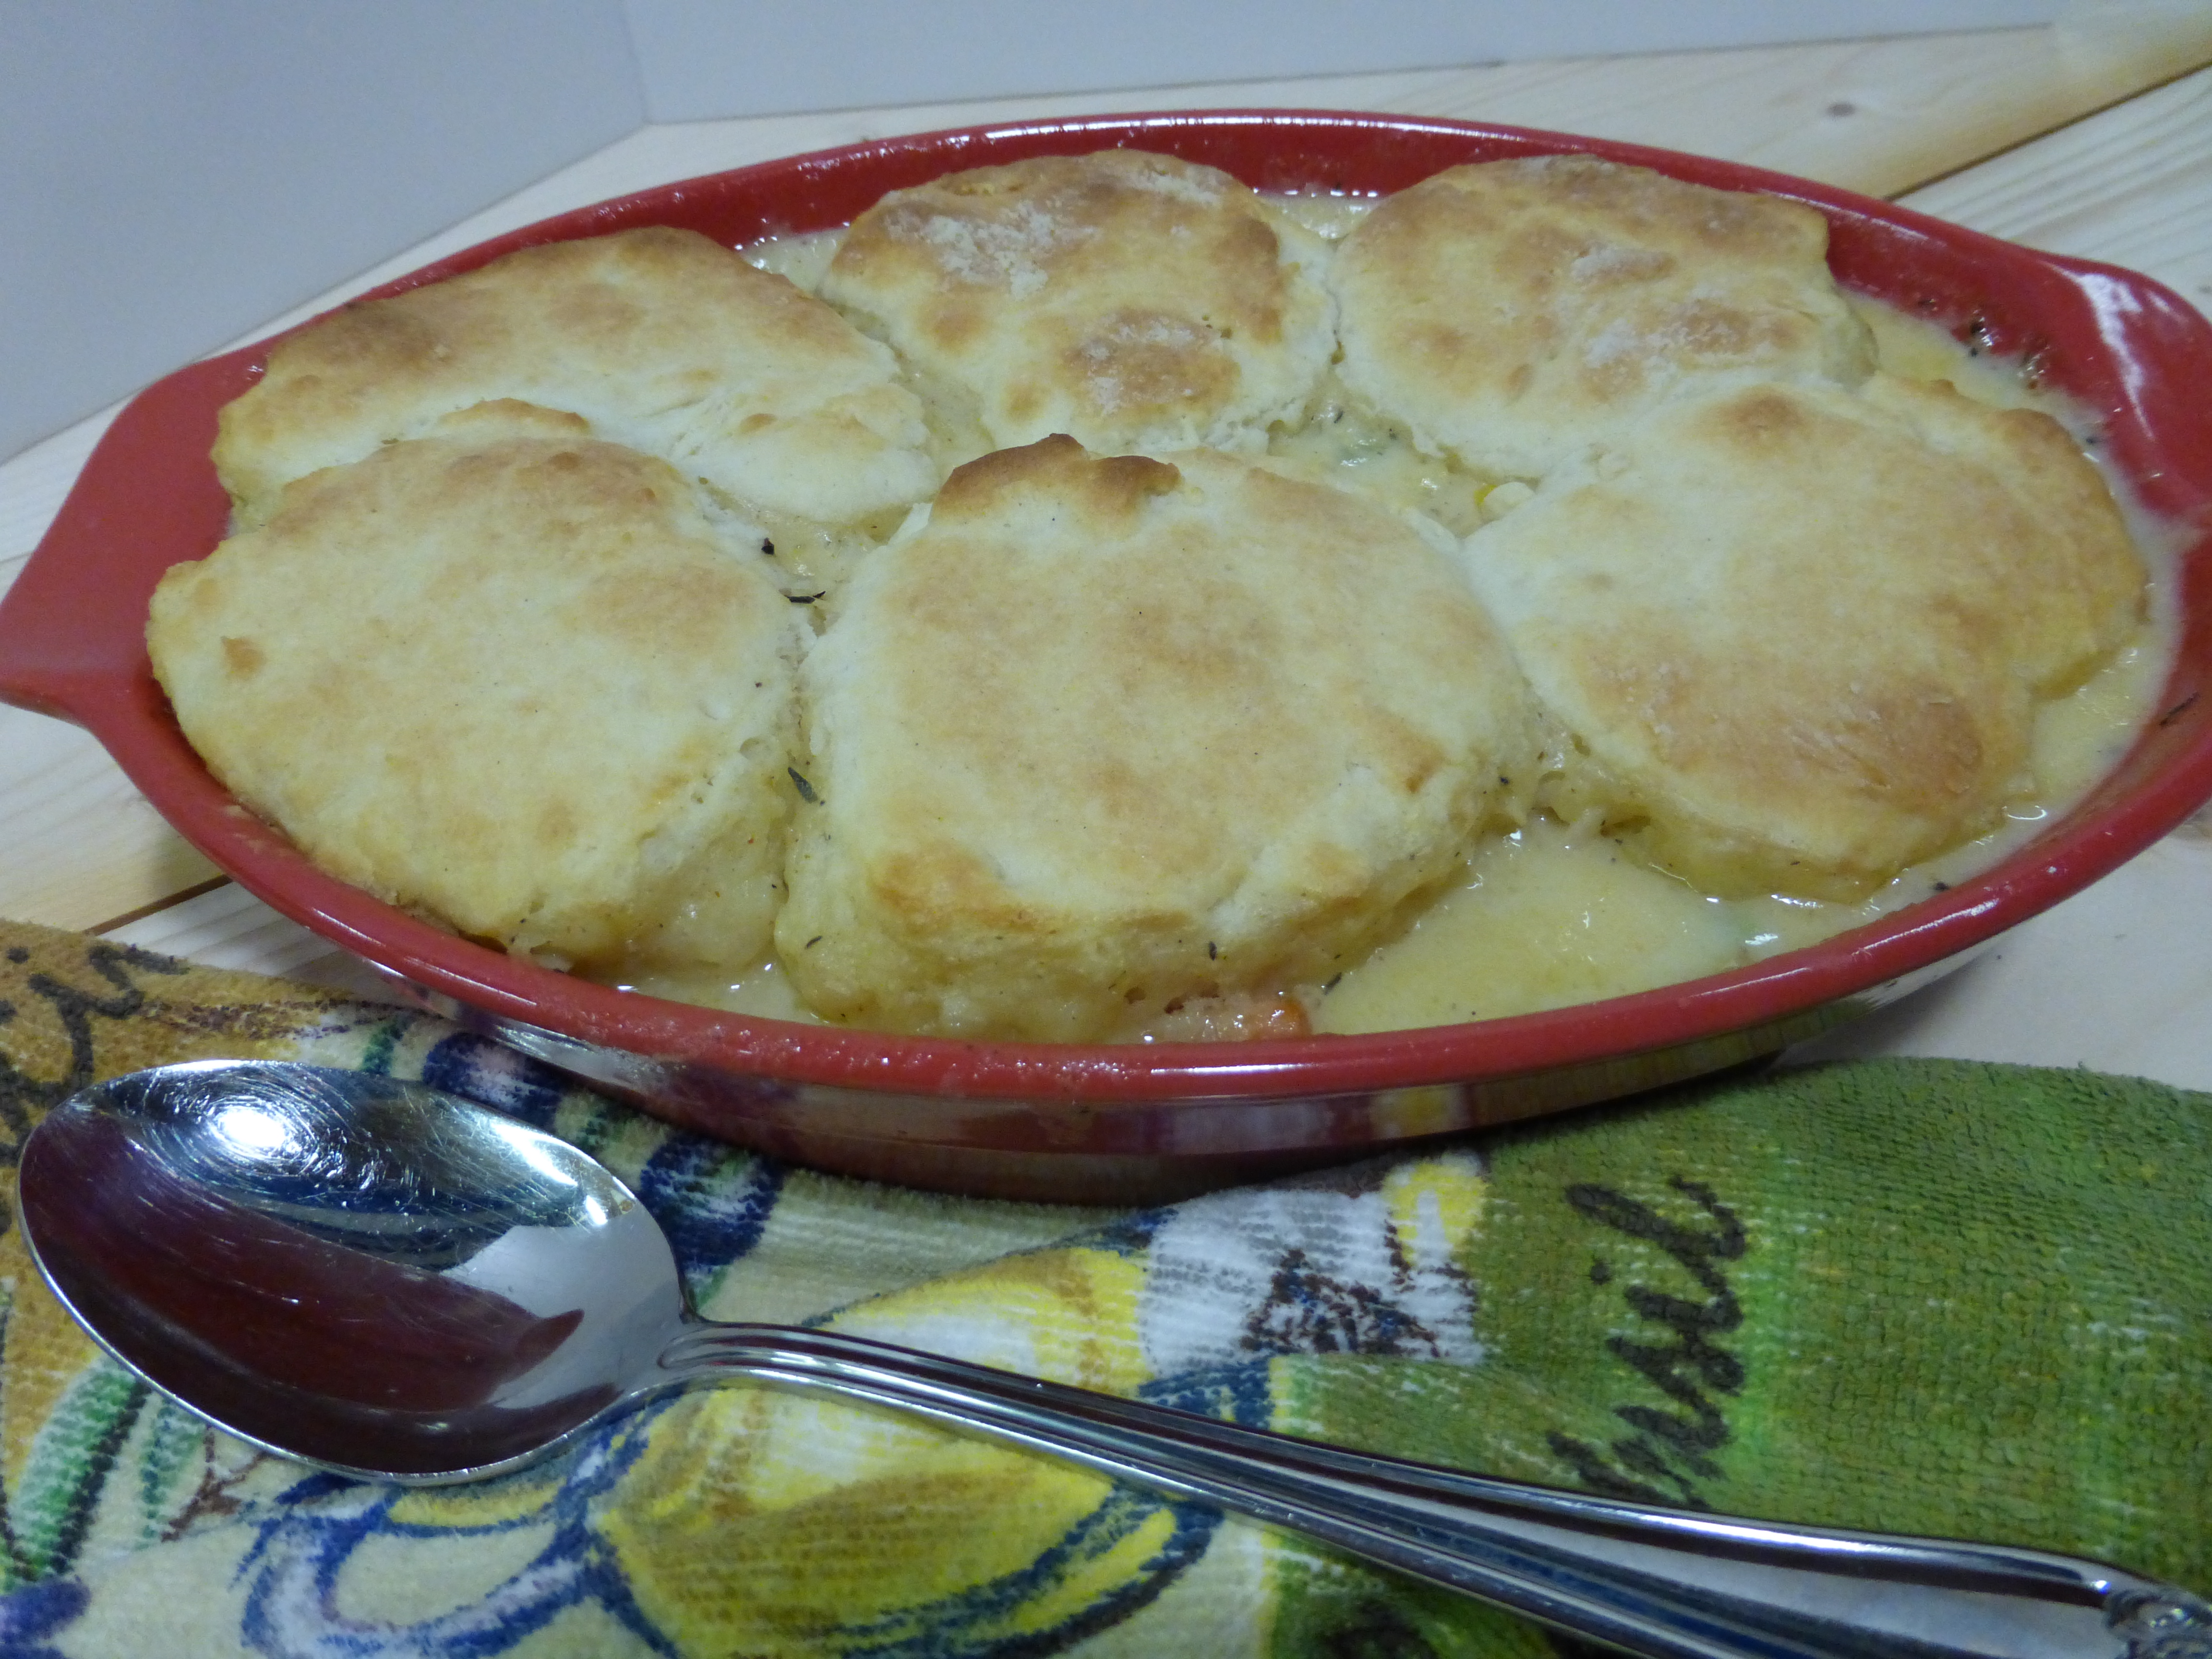
 Chicken and Vegetable Cobbler
Filling:
1 ½ sticks butter, at room temperature
1 cup finely diced yellow or brown onion
2 cloves garlic, finely chopped
5 cups chicken broth
3 carrots, peeled and cut into 1 inch pieces
3 celery ribs, chopped into 1 inch pieces
1 teaspoon salt
1 teaspoon pepper
1 ½ cups heavy cream
½ cup unbleached all-purpose flour
5 cups store-bought rotisserie chicken, shredded into bite-sized pieces
1 cup frozen peas, thawed
1 cup frozen corn, thawed
½ teaspoon dried thyme
½ teaspoon ground sage
¼ teaspoon cayenne pepper
The Topping:
Buttermilk Bicones (recipe below)
Preheat oven to 450 ͦ Spray a 9×13 inch baking dish with non-stick spray (I like butter flavor for this).
Melt 4 tablespoons of the butter in a large pot over medium heat; add the onion and garlic and sauté until tender (about 5-8 minutes). Add the carrots, celery, salt and pepper and sauté 2-3 minutes more before adding the chicken broth. Bring all to a simmer and lower heat to med-low, partially cover pot and simmer for 15 minutes, stirring occasionally.
Stir in the cream, raise the heat again to medium, and cook, uncovered, until all vegetables are tender, about another 12-15 minutes.
Meanwhile, melt the remaining 8 tablespoons of butter and stir the flour into it to make a smooth paste.
When the vegetables are tender, lower the heat and whisk the flour paste a little bit at a time into the broth until combined. Add the roasted chicken, peas, corn, thyme, sage and cayenne. Cover the pot and let the filling simmer until thickened, about 10 minutes.
Pour into the prepared baking dish. Arrange the unbaked biscones over the filling, leaving about ¼ inch between them. Bake for about 20 minutes, or until the top is golden brown. Remove from the oven and let rest for 5 minutes before serving.
Chicken and Vegetable Cobbler
Filling:
1 ½ sticks butter, at room temperature
1 cup finely diced yellow or brown onion
2 cloves garlic, finely chopped
5 cups chicken broth
3 carrots, peeled and cut into 1 inch pieces
3 celery ribs, chopped into 1 inch pieces
1 teaspoon salt
1 teaspoon pepper
1 ½ cups heavy cream
½ cup unbleached all-purpose flour
5 cups store-bought rotisserie chicken, shredded into bite-sized pieces
1 cup frozen peas, thawed
1 cup frozen corn, thawed
½ teaspoon dried thyme
½ teaspoon ground sage
¼ teaspoon cayenne pepper
The Topping:
Buttermilk Bicones (recipe below)
Preheat oven to 450 ͦ Spray a 9×13 inch baking dish with non-stick spray (I like butter flavor for this).
Melt 4 tablespoons of the butter in a large pot over medium heat; add the onion and garlic and sauté until tender (about 5-8 minutes). Add the carrots, celery, salt and pepper and sauté 2-3 minutes more before adding the chicken broth. Bring all to a simmer and lower heat to med-low, partially cover pot and simmer for 15 minutes, stirring occasionally.
Stir in the cream, raise the heat again to medium, and cook, uncovered, until all vegetables are tender, about another 12-15 minutes.
Meanwhile, melt the remaining 8 tablespoons of butter and stir the flour into it to make a smooth paste.
When the vegetables are tender, lower the heat and whisk the flour paste a little bit at a time into the broth until combined. Add the roasted chicken, peas, corn, thyme, sage and cayenne. Cover the pot and let the filling simmer until thickened, about 10 minutes.
Pour into the prepared baking dish. Arrange the unbaked biscones over the filling, leaving about ¼ inch between them. Bake for about 20 minutes, or until the top is golden brown. Remove from the oven and let rest for 5 minutes before serving.Buttermilk Biscones 1 ½ cups unbleached all-purpose flour 1 ½ cups cake flour (not self-rising) ¼ cup sugar 2 tablespoons baking powder ¾ teaspoon salt ¼ teaspoon cardamom 2 sticks cold butter, cut into ½ inch cubes 1 ½ cups buttermilk (more or less, as needed) Preheat oven to 375 ͦ. Line baking sheet with parchment paper. In a large mixing bowl, combine the flours, sugar, baking powder, salt, and cardamom and whisk until completely incorporated. Cut the butter in with a pastry blender, or do this in a food processor using quick pulses. You should end up with various-sized pieces of butter, from sandy patches, to pea-sized and larger ones as well. Gradually pour in the buttermilk and fold the ingredients until you have a soft dough and there are no bits of flour at the bottom of the bowl. If this happens before you’ve used all of the buttermilk, don’t use the entire 1 ½ cups or it’ll end up to sticky. If you’ve used it all up but it’s still too dry, use a little more buttermilk. Gently pat the dough in the bowl until it resembles a loaf of bread. Dust the top of it lightly with flour. Using a large ice cream scoop, scoop mounds of dough onto the prepared baking sheet so that they are 1 inch apart. Lightly tap the tops down. Brush lightly with extra buttermilk before baking.

